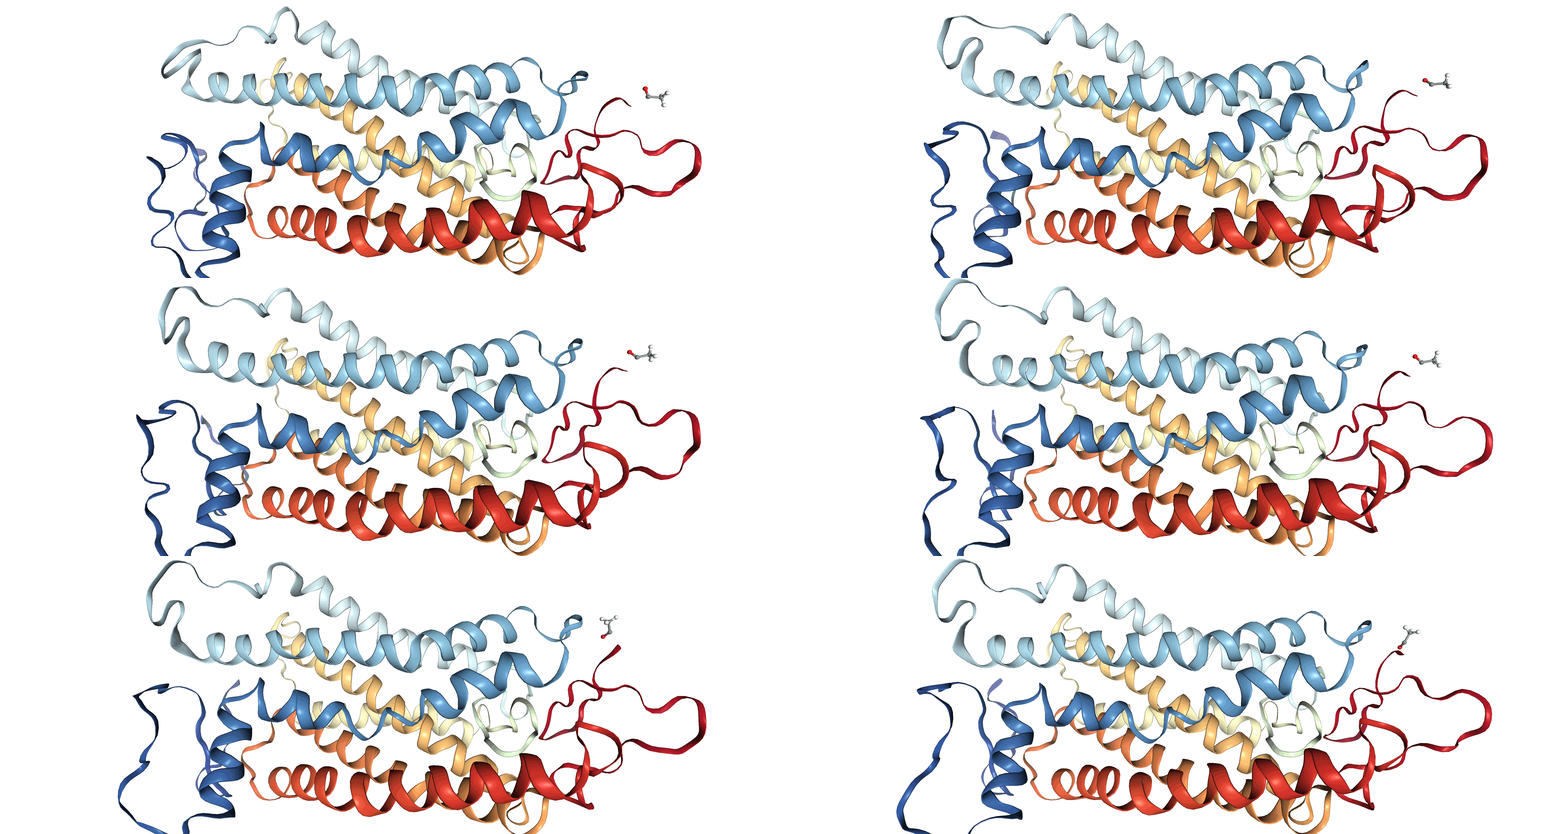
What is NGLView?
NGLView is a viewer for molecular structures and trajectories in Jupyter notebook.
Requirement
- AmberTools >= 16
If you allow AMBER to install Python distribution from Miniconda, you have most needed packages (except NGLView and moviepy) for this tutorial.
Install NGLView development version:
amber.conda install nglview==0.5.1 -c ambermd
Install moviepy to generate movie from image files
# OSX user: install matplotlib via conda to make it work properly with moviepy
  # amber.conda install matplotlib

  amber.pip install moviepy
  amber.conda install freeimage
- You know how to use Linux command line. If not, please check basic AMBER tutorial
You know how to open a Jupyter notebook
amber.jupyter notebook notebook.ipynb
  # where `notebook.ipynb` is the name of your notebook.
Note: If you did not have amber.{pip, conda}, you can just use pip, conda or jupyter commands
How to follow this tutorial?
- Just copy and paste commands to your notebook, then hit "Ctrl-Enter"
Create trajectory viewer
In [1]:
import pytraj as pt
import nglview as nv
print(pt.__version__, nv.__version__)
In [2]:
# create pytraj's Trajectory, require supported formats (.nc, .dcd, .pdb, .trr, ...)
traj = pt.load(nv.datafiles.TRR, nv.datafiles.PDB)

# perform superimpose to 1st frame to remove translation and rotation
traj.superpose(mask='@CA', ref=0)

traj
Out[2]:
In [3]:
# create NGL viewer
view = nv.show_pytraj(traj)
view
In [4]:
view.render_image()
In [5]:
view._display_image()
Out[5]:
Render image for movie
In [ ]:
# make sure to change your web browser option to save files as default (vs open file by external program)
# NGLView will render each snapshot and save image to your web browser default download location
# uncomment all the commands below to render

# from time import sleep

# # to save time for this tutorial, we make a movie with only 50 frames
# for frame in range(0, 50):
#     # set frame to update coordinates
#     view.frame = frame
#     # make sure to let NGL spending enough time to update coordinates
#     sleep(0.5)
#     view.download_image(filename='0image{}.png'.format(frame))
#     # make sure to let NGL spending enough time to render before going to next frame
#     sleep(2.0)
Make a movie (gif format)
In [ ]:
import moviepy.editor as mpy
In [ ]:
# In my case, my default download folder is /Users/haichit/Downloads/
template = '/Users/haichit/Downloads/0image{}.png'

# get all (sorted) image files
imagefiles = [template.format(str(i)) for i in range(0, 50, 2)]
In [ ]:
# make a gif file

frame_per_second = 8
im = mpy.ImageSequenceClip(imagefiles, fps=frame_per_second)
im.write_gif('my_movie.gif', fps=frame_per_second)
In [6]:
# display the gif in this notebook


from IPython import display

display.HTML("<img src='my_movie.gif'></img>")
Out[6]:
updated date
In [7]:
from time import gmtime, strftime
strftime("%Y-%m-%d", gmtime())
Out[7]:
